
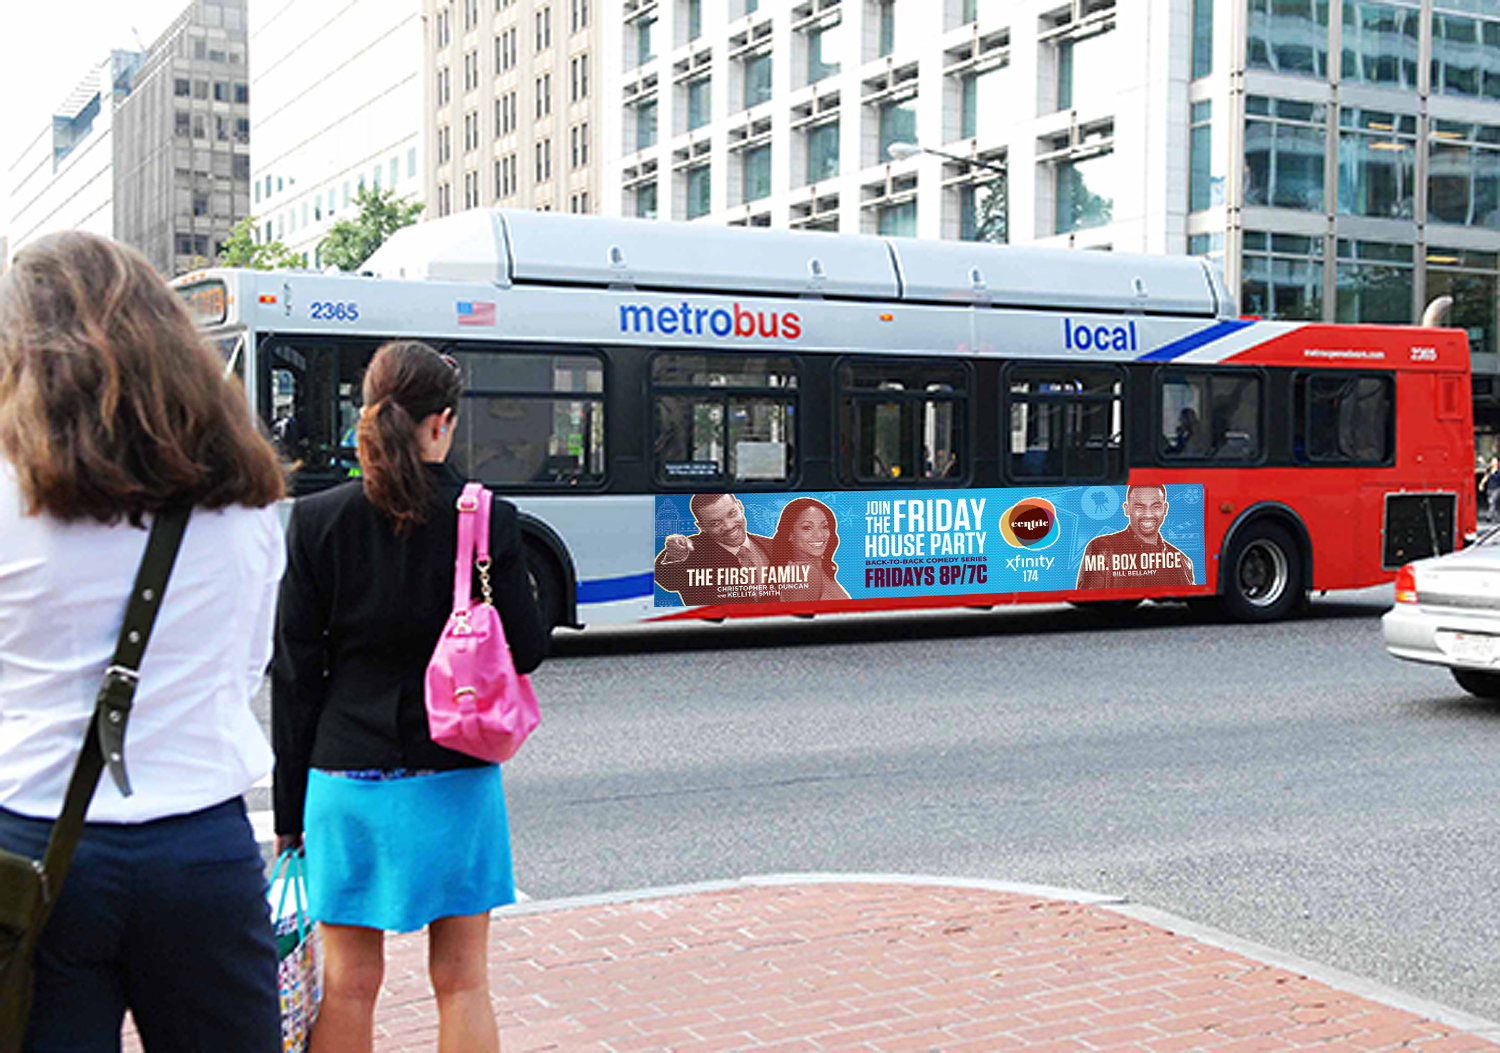


Wide-format or large-format printers are used for large signage: billboards, elevator wraps, vehicle wraps, etc. File set-up can be a bit intimidating when working with large format, especially for the bigger pieces, but if you understand what the final output should be and how to scale appropriately, you can design with confidence.
Final Output
When dealing with standard offset or digital printing, 300dpi is the norm. However, with large format it isn't necessary, nor is it possible in most cases, to build a file at full resolution. An important first step to setting up your file is asking your printer what the "final output" should be. This is the resolution at full printed size. Different pieces have different final outputs: larger pieces seen at a distance might have a minimum final output of 75dpi, while pieces that are a bit smaller and will be viewed up close might have a final output of 100 or 150dpi The printer will be able to provide a minimum final output or a range that you should try to stay within.
Scale
Using a scaled-down file when working with large format makes files much more manageable. With some pieces (usually die-cut pieces or vehicle wraps), there may be a preexisting template available already set up to scale, or the printer/vendor may have a specific scale they would like to use, so asking is important. If the vendor doesn't have a template or a specific scale they'd like, it's up to the designer to designate one that makes sense.
When I'm dictating my own scale, I like to build the file out around 30" in either direction. It's a comfortable size and one I know my computer can handle. There are 3 ways to explain the scale you're using: as a percentage of the final size (25% of final size), as a fraction of the size (built at 1/4 size), or as a scale (1/4"=1"); all are correct, but depending on the scale you use, you'll probably gravitate to one or the other (1/8"=1' is a lot easier to wrap your mind around than 1.04% of final size or built at 1/96 size). When I'm working with scale, I always like to make sure I'm working with the cleanest numbers possible. So if you try a scale of 1/6 size and you have a decimal point with 10 numbers after it, try a different scale–maybe 1/7 or 1/5 is a better match. It's just a matter of figuring out the best and cleanest way to scale. After you decide on a nice clean scale, you need to figure out what your resolution needs to be at that scale, which will require a little math. If you set your file up at 1/5 and the final output is 100, then the file needs to be set up at 500dpi in order for your final output to be 100dpi. Below I have a few examples.
Examples
PROJECT 36"x72" Wildposter
FINAL OUTPUT 200dpi
SCALE / RESOLUTION 1/2 size (18"x36") @ 400dpi
HOW? 36÷2=18 and 72÷2=36 | 200x2=400
WHY? Half size is the perfect choice for this project, it produces a nice clean number and is around the size I like to work within. The next step is figuring out the resolution at 1/2 size in order to meet the desired final output. I multiplied the desired output by 2 since we are working at half size.
PROJECT 10'5"x22'8" 8 Sheet Poster
FINAL OUTPUT 50dpi
SCALE/RESOLUTION 1/10 size (12.5"x27.2") @ 500dpi
HOW? For this piece, because we're working with feet and inches, the first step is converting to total inches.
10x12=120 and 120+5=125 | 22x12=264 and 264+8=272
125÷10=12.5 and 272÷10=27.2 | 50x10=500
WHY? 1/10 size is a great choice for this piece. 1/11 and 1/12 size produce a really messy number but 1/10 size produces a pretty good one with only 1 number after the decimal point. The next step is figuring out the resolution at 1/10 size. I multiplied the desired final output of 50 by 10 since we are working at 1/10 size.
Working with large format takes practice, but the more you work with it, the more confident you'll become at building large printed pieces.