1. Take Inventory
Gather and list your budget, quantity needed, the delivery date, any direction you've received, any provided copy, any mandatory elements, and anything else that should be included. Are you starting from scratch, pulling inspiration from something that already exists, or expanding on something that's already developed? You need as much concrete information as possible at this stage.
2. Consider your Context
You'll need to understand the exact context--the more information the better, so dig deep. Where is this piece going, where will it live? Who is the audience? Is it going to be handed out, mailed, displayed, included as an accompaniment to something else? If it's going to be handed out, what is a comfortable size? If mailed, how will the size effect shipping costs? Does it need to fit into a specific shipping box? How will the users be viewing it? Will they be standing in a busy shopping mall or sitting at a desk? Is it something they are going to keep or toss? Answering these questions should start to create some parameters in your mind. You should start to form an idea about the size and the complexity of the piece (hint: someone standing in a busy shopping mall with multiple bags won't appreciate a 13x11 booklet with fold-out panels).
3. Sketch to Schematic
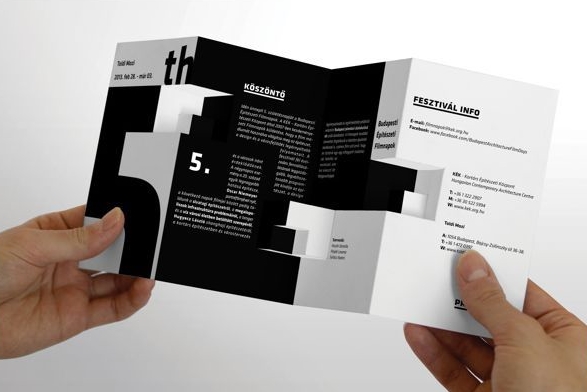
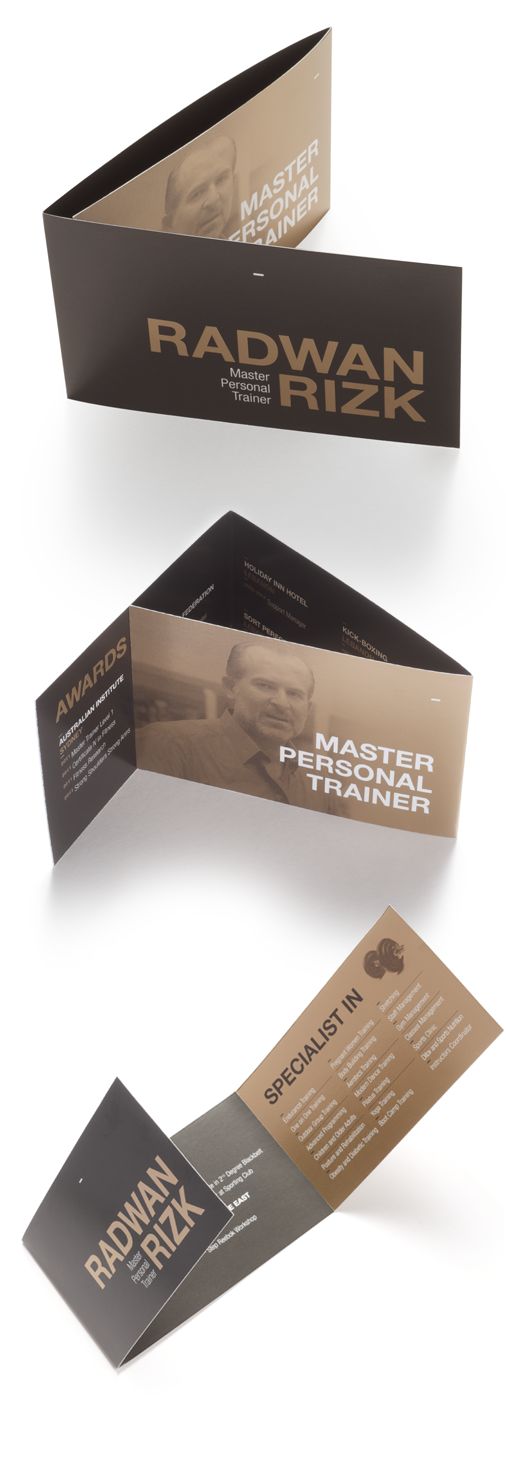
Now that you have an idea of what you're working with, where it's going to live, a rough idea of the size, and an idea of how the audience will be receiving the item, start sketching! How does it fold? How will it look flat (unfolded), how will it look folded? Is it bound? Does it interlock? Are there multiple parts that work together, an exterior with interior sheets, or a booklet? How does that work? Does it need tabs so it can attach to itself? Does it glue? Where does the glue go? Sketch and revise until you land on a few final directions. Make sure you take into account the content you're working with and think a bit into the future of how the design will fit with your custom piece. Now that you have tight sketches and a size in mind, you'll need to create a schematic (which includes exact dimensions, sizing and any folds--this can be refined later on, the initial schematic is for estimate purposes) in Illustrator that will eventually serve as a die line if you have anything more than a simple straight cut (a die line is what the printer uses as a guide for a custom cut). You'll need to print this out and build a mock up to catch any issues. Once you're happy with the results you can move on.
4. Pick your materials/Talk to your printer
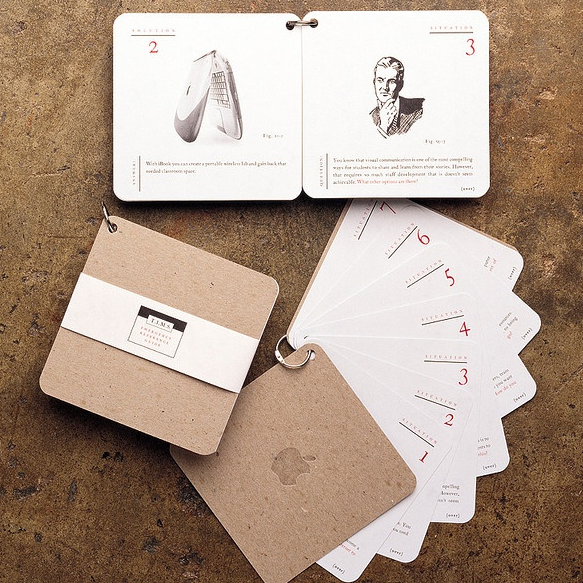
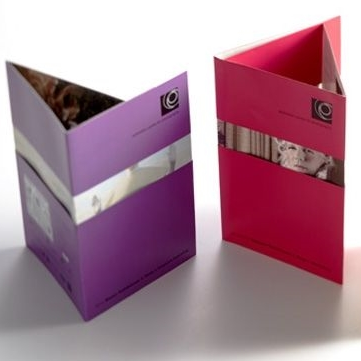
Think about the style of your piece--is it funky? luxury? corporate? casual? Understanding the tone of your piece should point you in the right direction. If it's funky, maybe you want some neon paper paired with a matte black paper. If it's a luxury piece, maybe a black suede paper mixed with a clear foil imprint to play up the subtle textures. There are treatments to think about: foils, varnishes, die cuts, edge painting, embossing, holograms, perforation, etc. There are also binding styles: wire-o, spiral, grommets, saddle stitch, etc. How does it close: glue dot, velcro, snap, magnet, special die cut, wax seal, wafer seal, etc. There are endless options! This will also be the time to consult a printer if you're doing something you haven't done before. If you have a vendor you always work with, send over the schematics, which materials you're considering, the quantities, and the in-hand date and get a quote. If you don't have a go-to printer, send all the details to at least three for quotes. You need to make sure your plans are within the budget and the time frame before moving forward.
5. Scheduling/Project Coordination
Custom products often require coordination. You might have three things being produced that all need to arrive at a certain place to be fulfilled before they're shipped off somewhere else. This is the time to work all that out. Starting from the delivery date, work backwards to develop a schedule with incremental deadlines so you can stay on track. Create a schedule for yourself that includes all of the delivery dates and create a schedule for the different vendors involved so everyone knows exactly what's happening and so there won't be any surprises. Pad the schedule just in case. Try your best to stick to the schedule, and if you are falling behind, let everyone know.
6. Design/Present
You could go one of two ways at this point. You could present the mock up along with paper swatches, budget, etc., to the client, or you could go ahead and design each direction and let them select a fully designed piece. It really depends on what you've agreed to. Either way, it's time to design! Whatever your process is, get it out of your head and onto the paper. You should be able to create a full-size mock up of the final piece. Review with the client and work through anything that needs to be adjusted.
7. Select a Vendor
Earlier you sent the schematics, the materials, and the quantities, and you received quotes from 1-3 printers. It's time to make the final selection. Once you select your printer, send the final artwork and all of the details. The vendor may have some suggestions that you should definitely take into account. I work with an amazing printer who is incredibly helpful when it comes to certain parts of the project that he may have more expertise in. We had a pretty in-depth discussion about glue dots the last time around, and I went with a small, high-tack, low-profile, clear glue dot. Yes, there are that many variables and tiny details that are crucial to the final piece.
8. Finalize
You should definitely ask for a paper mock up on the actual paper so you can ensure, before everything is complete, that it folds and operates exactly how you envisioned. Making a paper mock up on printer paper versus a thick stock can make a huge difference, so it's important not to skip this step. You should then receive several proofs; check everything: the color, the quality, and make sure everything translated exactly the way you thought it would. If it doesn't, carefully revise, submit changes, and await a new proof until it is absolutely perfect. It's always good to have someone who wasn't involved in the project take another look. If it's a big project and you're close to your vendor, do a press check. Once this is done and you feel comfortable, it's time to approve!
9. Delivery
Your printer should send you samples at different stages, after die cuts, after foil stamps, etc., so you get to see the progress. If your printer is sending the final piece directly to the client, ask to receive a few samples early so you have them in hand when the client receives theirs, in case any questions arise.
10. Celebrate
There is so much involved in getting to the final product, don't forget to pat yourself on the back and sit back to admire your great work. Enter it into contests and display it proudly in your portfolio, you deserve it!
